

DIY Quilter Design Wall Using Foam Insulation Board & Batting
DIY Quilter Design Wall Using Foam Insulation Board & Batting
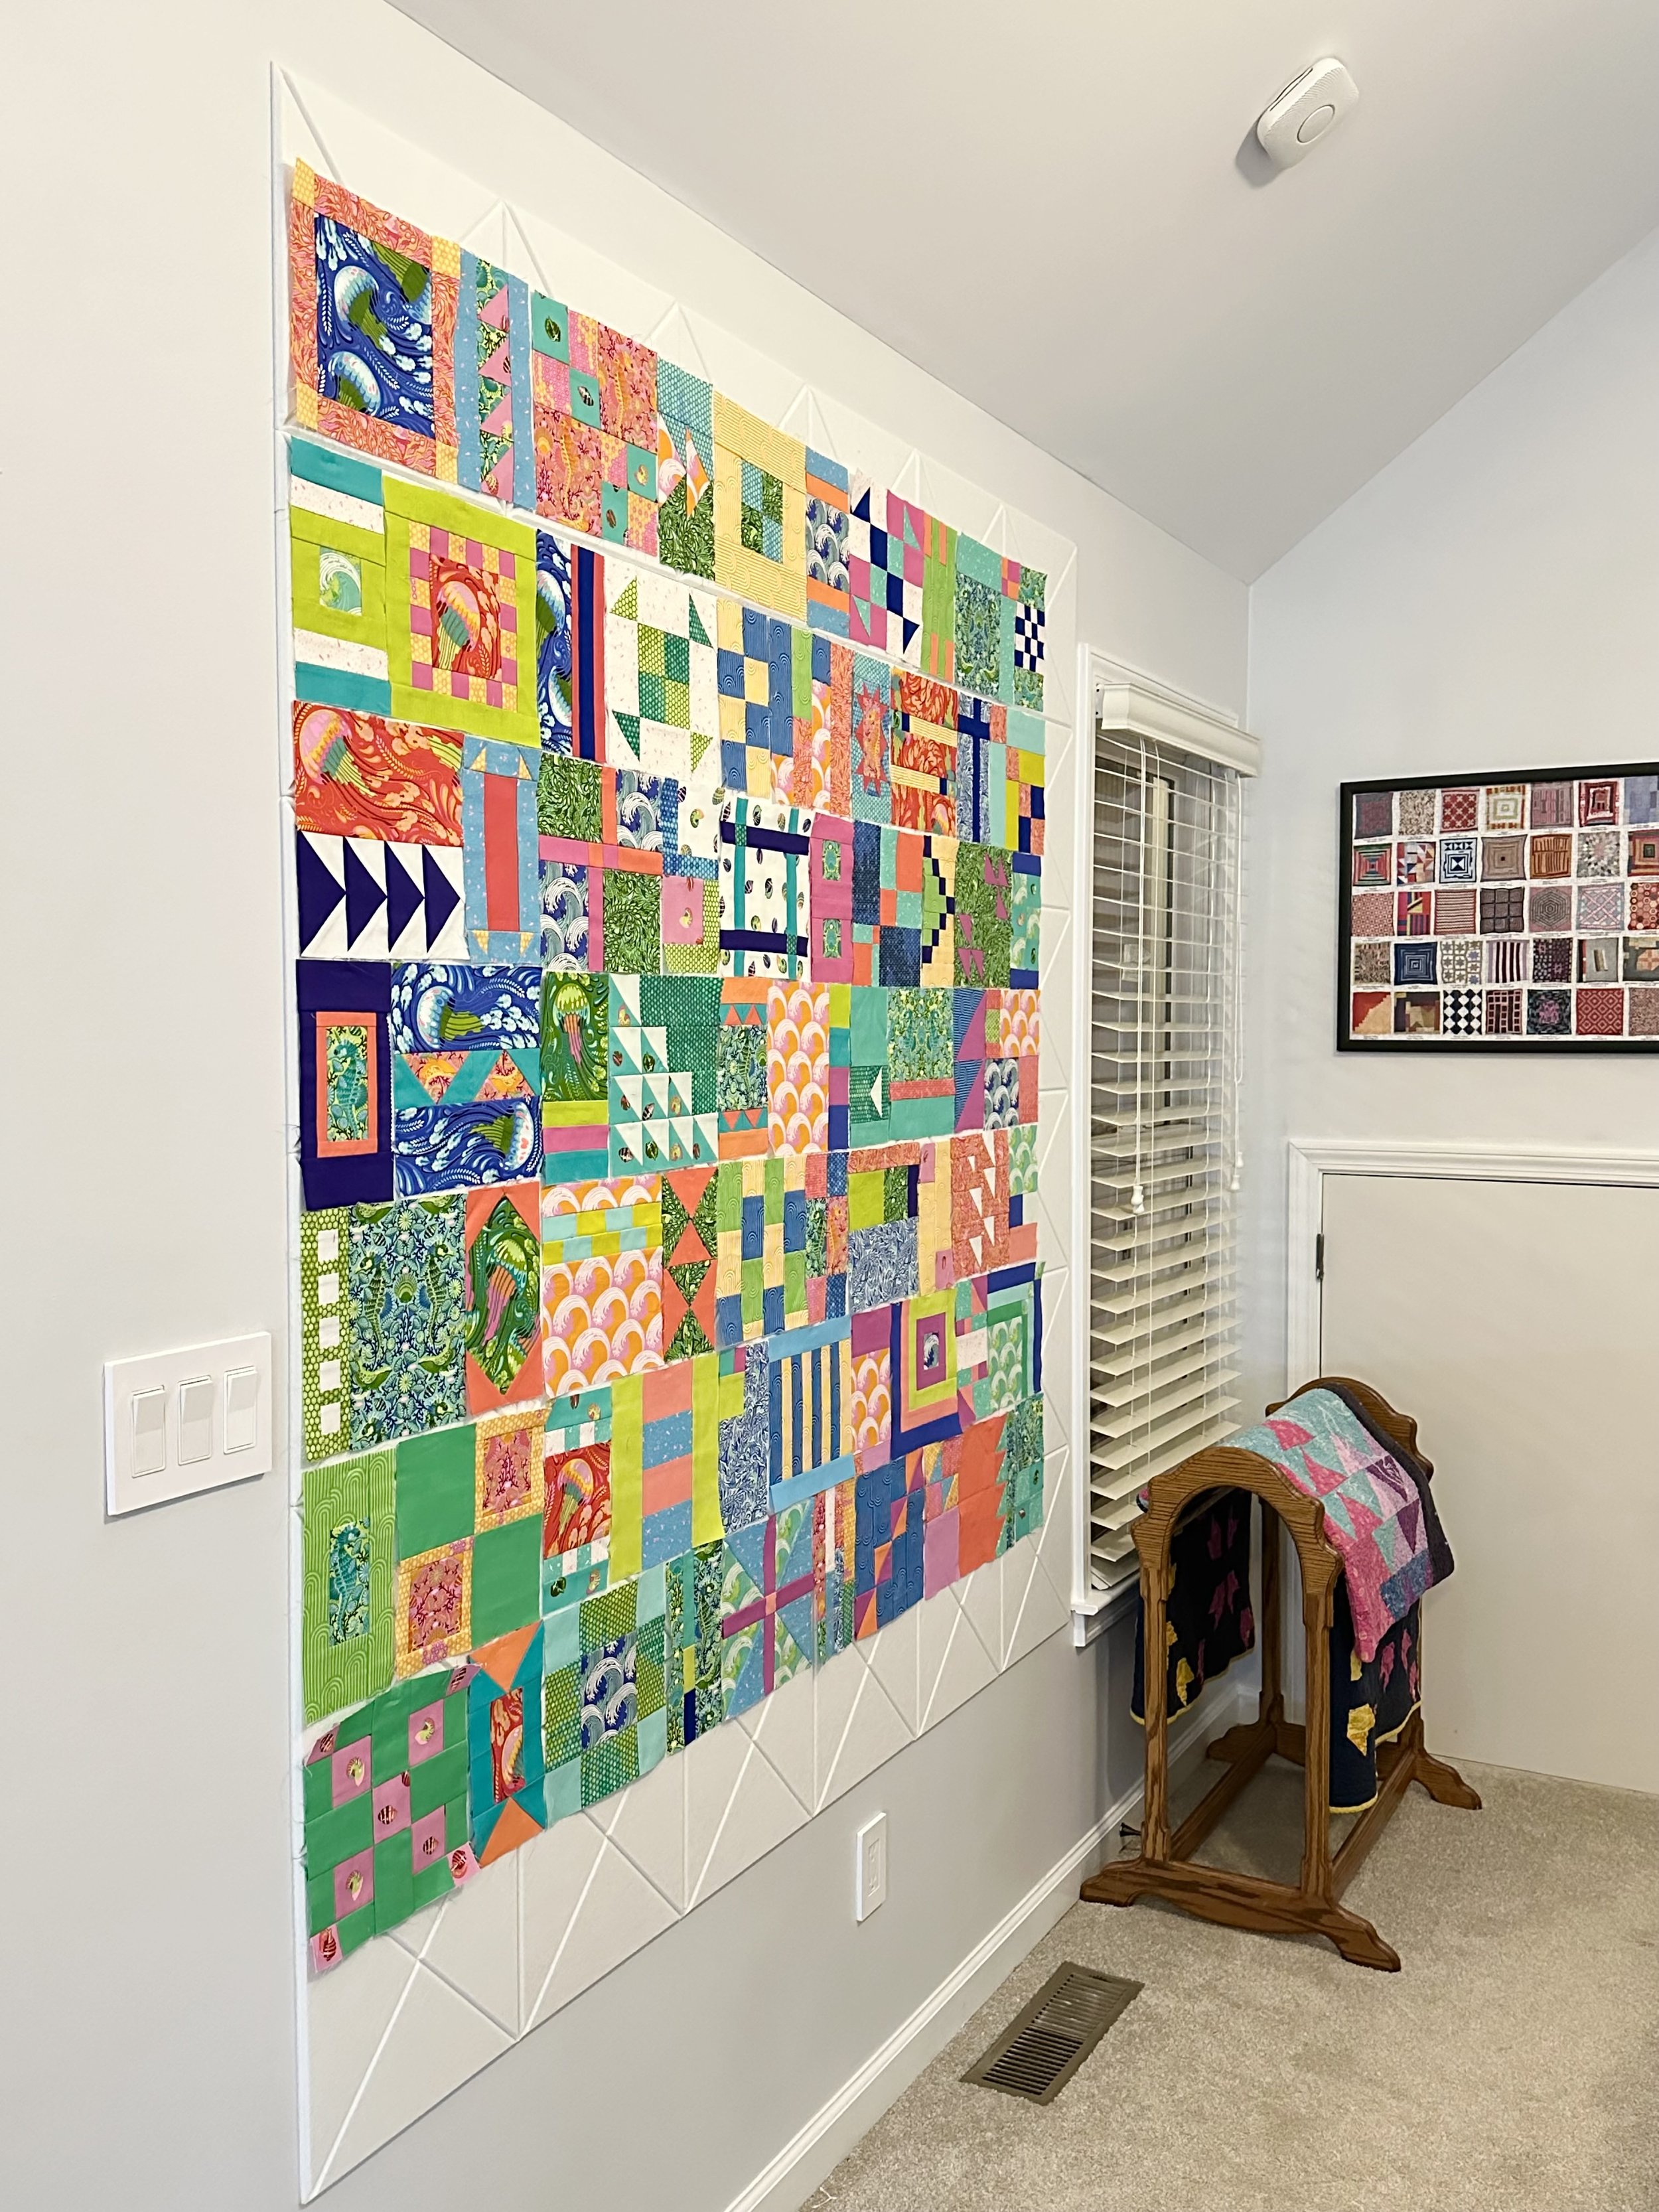
A design wall is one of the most helpful tools a quilter can have. It allows you to lay out blocks, evaluate color placement, and see your quilt as a whole—without crawling on the floor. The best part? You can make a large, lightweight, budget-friendly design wall using foam insulation board and batting.
Why Every Quilter Needs a Design Wall

A design wall helps you:
-
Arrange blocks vertically for true perspective
-
Easily move blocks without pinning
-
Evaluate color balance and layout
-
Keep layouts intact between sewing sessions
Once you use one, it’s hard to quilt without it.
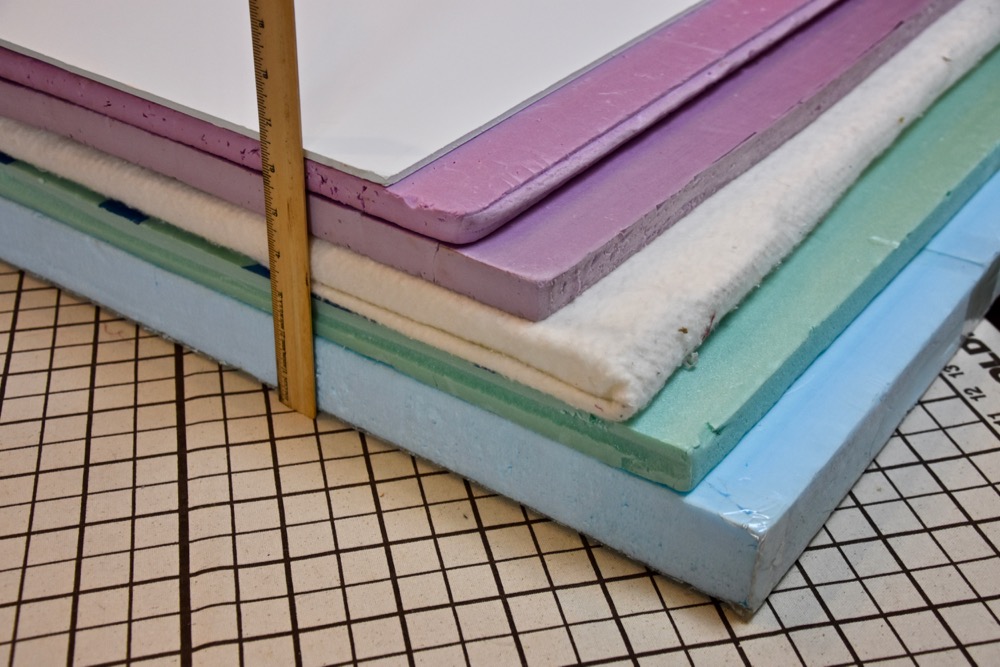
Materials You’ll Need
-
Foam insulation board
-
Common size: 4’ x 8’
-
Thickness: ½” or 1”
-
-
Cotton or cotton-blend batting
-
Spray adhesive or straight pins
-
Utility knife or box cutter
-
Measuring tape
-
Optional: Command strips, Velcro, or wall hooks
💡 White or pink insulation boards both work well.
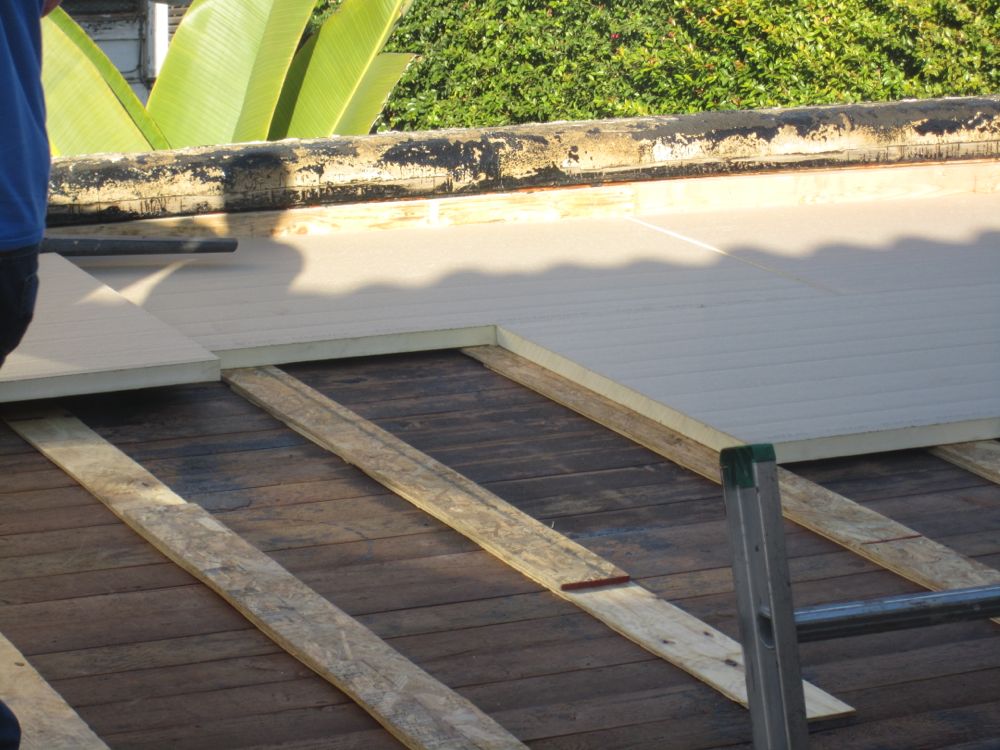
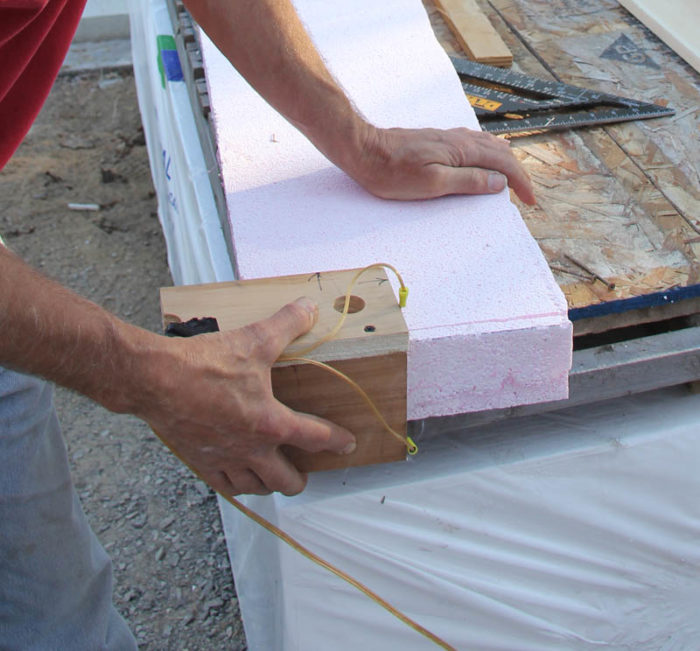
Step 1: Cut the Foam Board (If Needed)

If your board is larger than your wall space:
-
Measure desired size
-
Score deeply with a utility knife
-
Snap cleanly along the cut line
Many quilters use the full board, but half boards work great too.
Step 2: Cover the Board with Batting


Lay the batting smoothly over the foam board:
-
No stretching needed
-
Allow excess batting to wrap around edges
Batting creates the gentle grip that holds quilt blocks in place.
Step 3: Secure the Batting

Option 1: Spray Adhesive
-
Lightly spray foam
-
Smooth batting from center outward
Option 2: Pins (No Spray)
-
Wrap batting around edges
-
Pin batting to the back of the foam board
🧵 Many quilters prefer pins so batting can be replaced later.
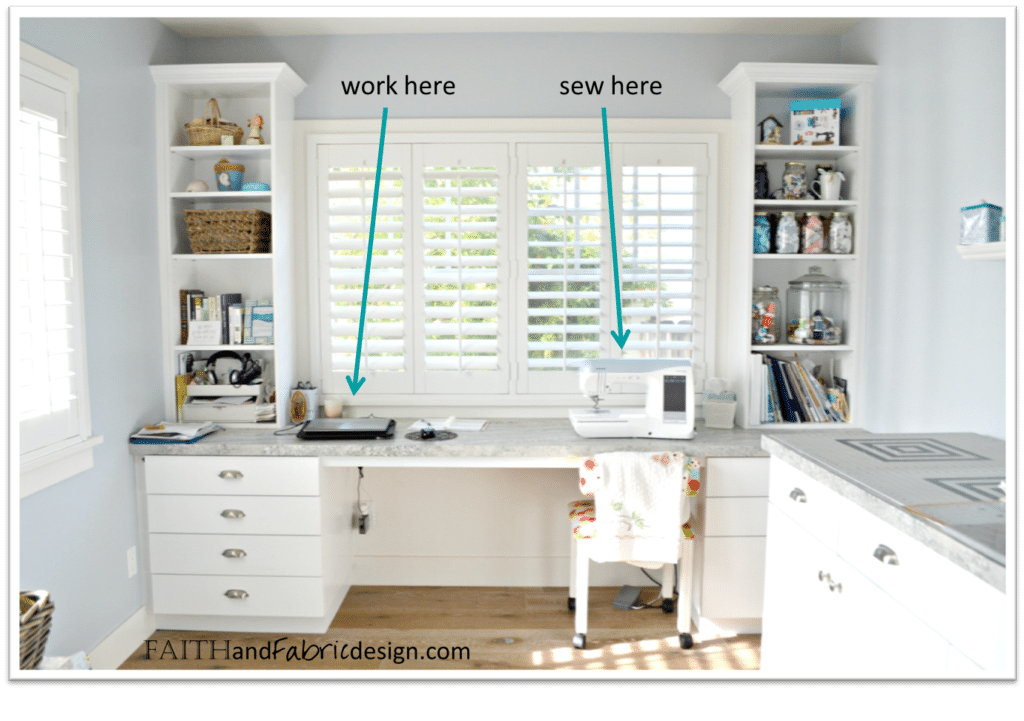
Step 4: Mount or Position Your Design Wall
Wall-Mounted Options
-
Command strips
-
Heavy-duty Velcro
-
Screws (for permanent setups)
Freestanding Options
-
Lean against a wall
-
Behind a cutting table
-
On a shelf or easel
Foam boards are lightweight, making them renter- and studio-friendly.
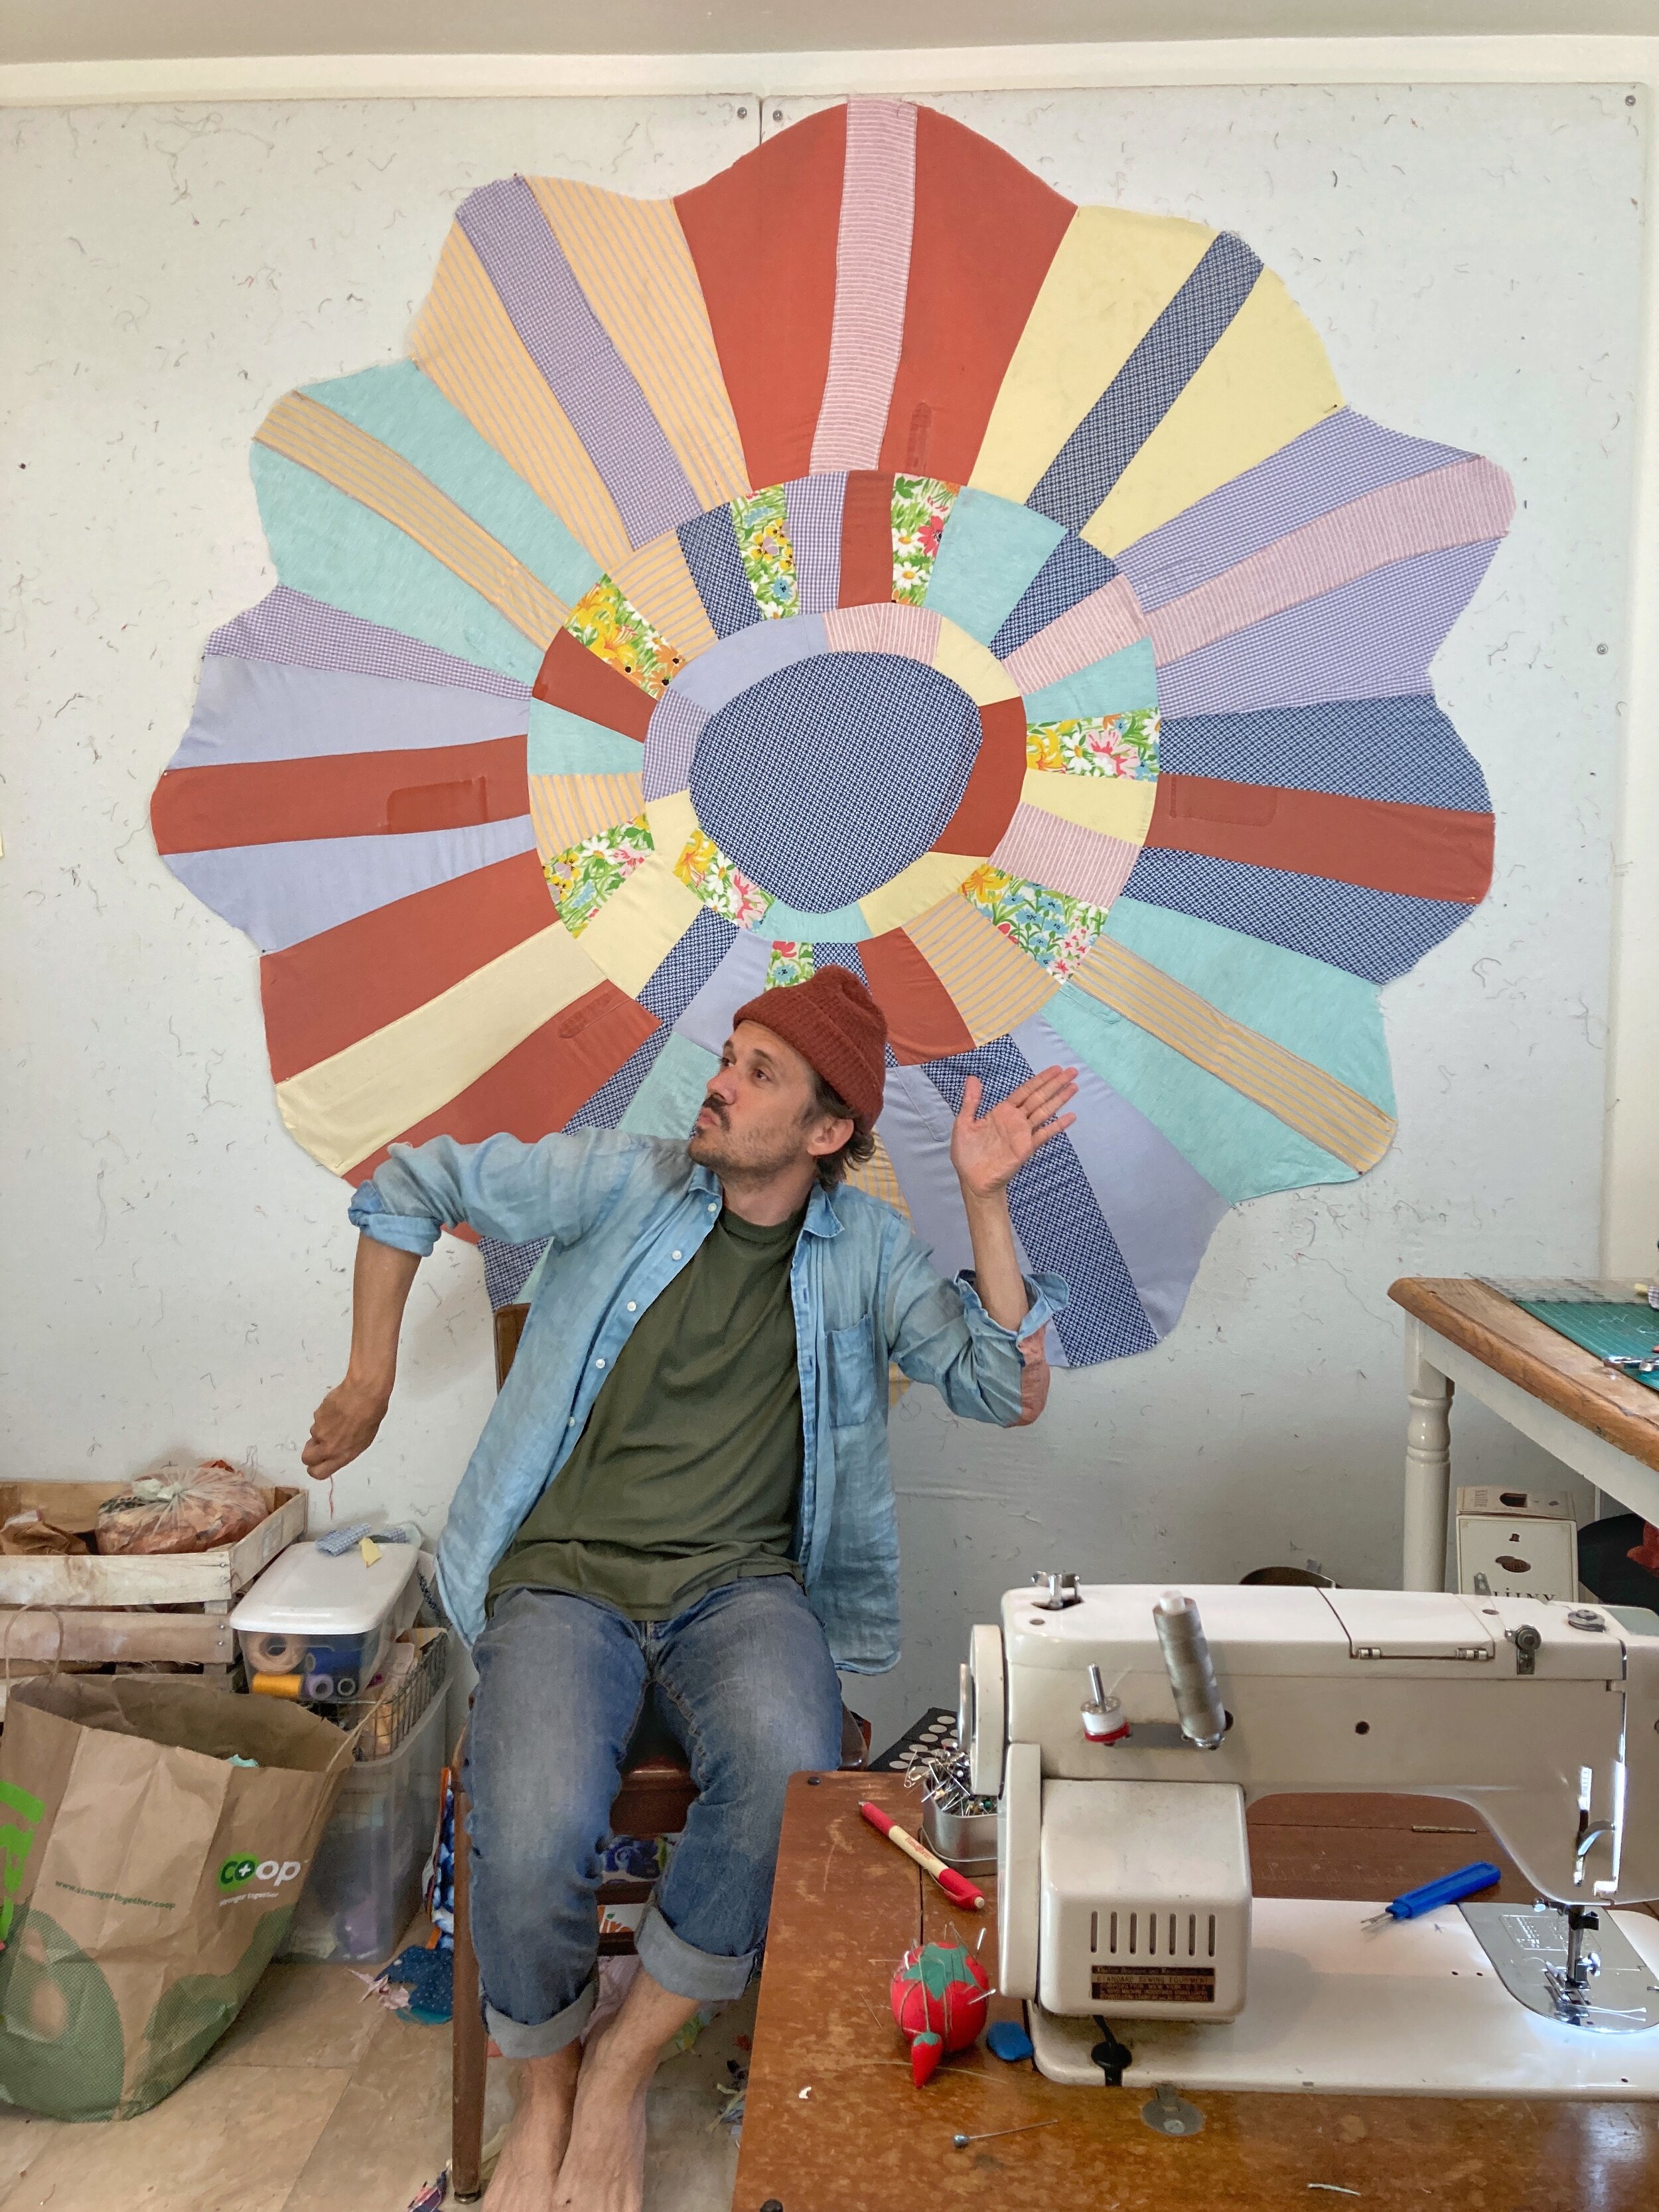
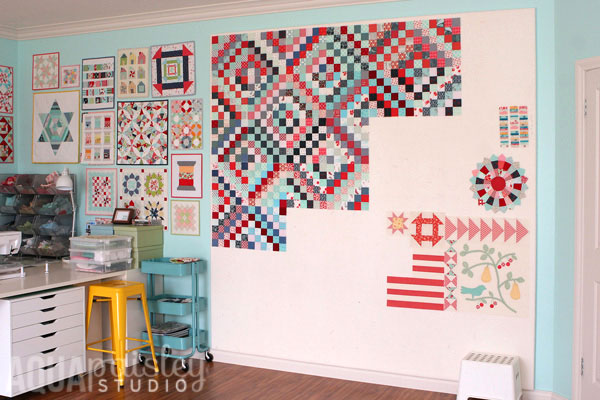
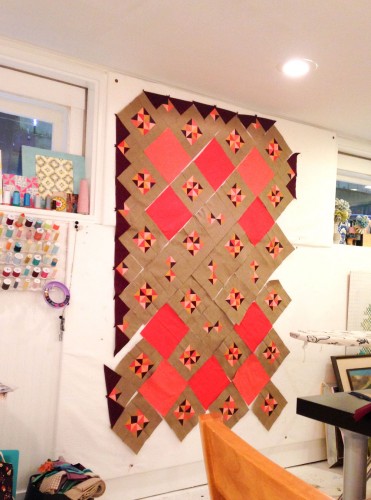
Using Your Design Wall

-
Place blocks directly on batting
-
Rearrange easily without pins
-
Step back to view progress
-
Leave layouts up for days or weeks
Perfect for scrappy quilts and color placement decisions.
Maintenance & Helpful Tips

-
Replace batting when grip weakens
-
Store boards flat or upright
-
Use light-colored batting for visibility
-
Label boards for different projects
Why This DIY Design Wall Works So Well
From a quilter’s perspective, this method is:
✔ Affordable
✔ Lightweight
✔ Custom-sized
✔ Beginner-friendly
✔ Easy to update
You don’t need expensive tools to quilt smarter.
Final Thoughts
A DIY design wall made from foam insulation board and batting is one of the easiest upgrades you can make to your quilting space. It saves time, protects your back, and improves layout accuracy.
If you’ve been laying blocks on the floor—this is your sign.


