

How to Baste a Quilt
How to Baste a Quilt
Pin basting vs. spray basting — which method is right for you? 🧵✨
Before you can quilt your project, there’s one important step that holds everything together — basting.
Basting secures your quilt top, batting, and backing into a “quilt sandwich” so the layers don’t shift while quilting. A good basting job makes quilting smoother, more accurate, and much less frustrating.
At Johnson Heirloom, we know that taking the time to baste properly can make all the difference in your finished quilt.
What Is Quilt Basting?


Basting is the process of temporarily holding all three layers of your quilt together:
- Quilt top
- Batting
- Backing
This step prevents shifting, puckering, and uneven quilting.
Preparing Your Quilt for Basting
Before you begin, make sure:
🧵 Your backing is larger than your quilt top (4–6 inches extra on each side)
🧵 Your fabric is pressed and smooth
🧵 You’re working on a flat surface (floor, table, or design wall)
Taking time to prepare ensures better results.
Pin Basting
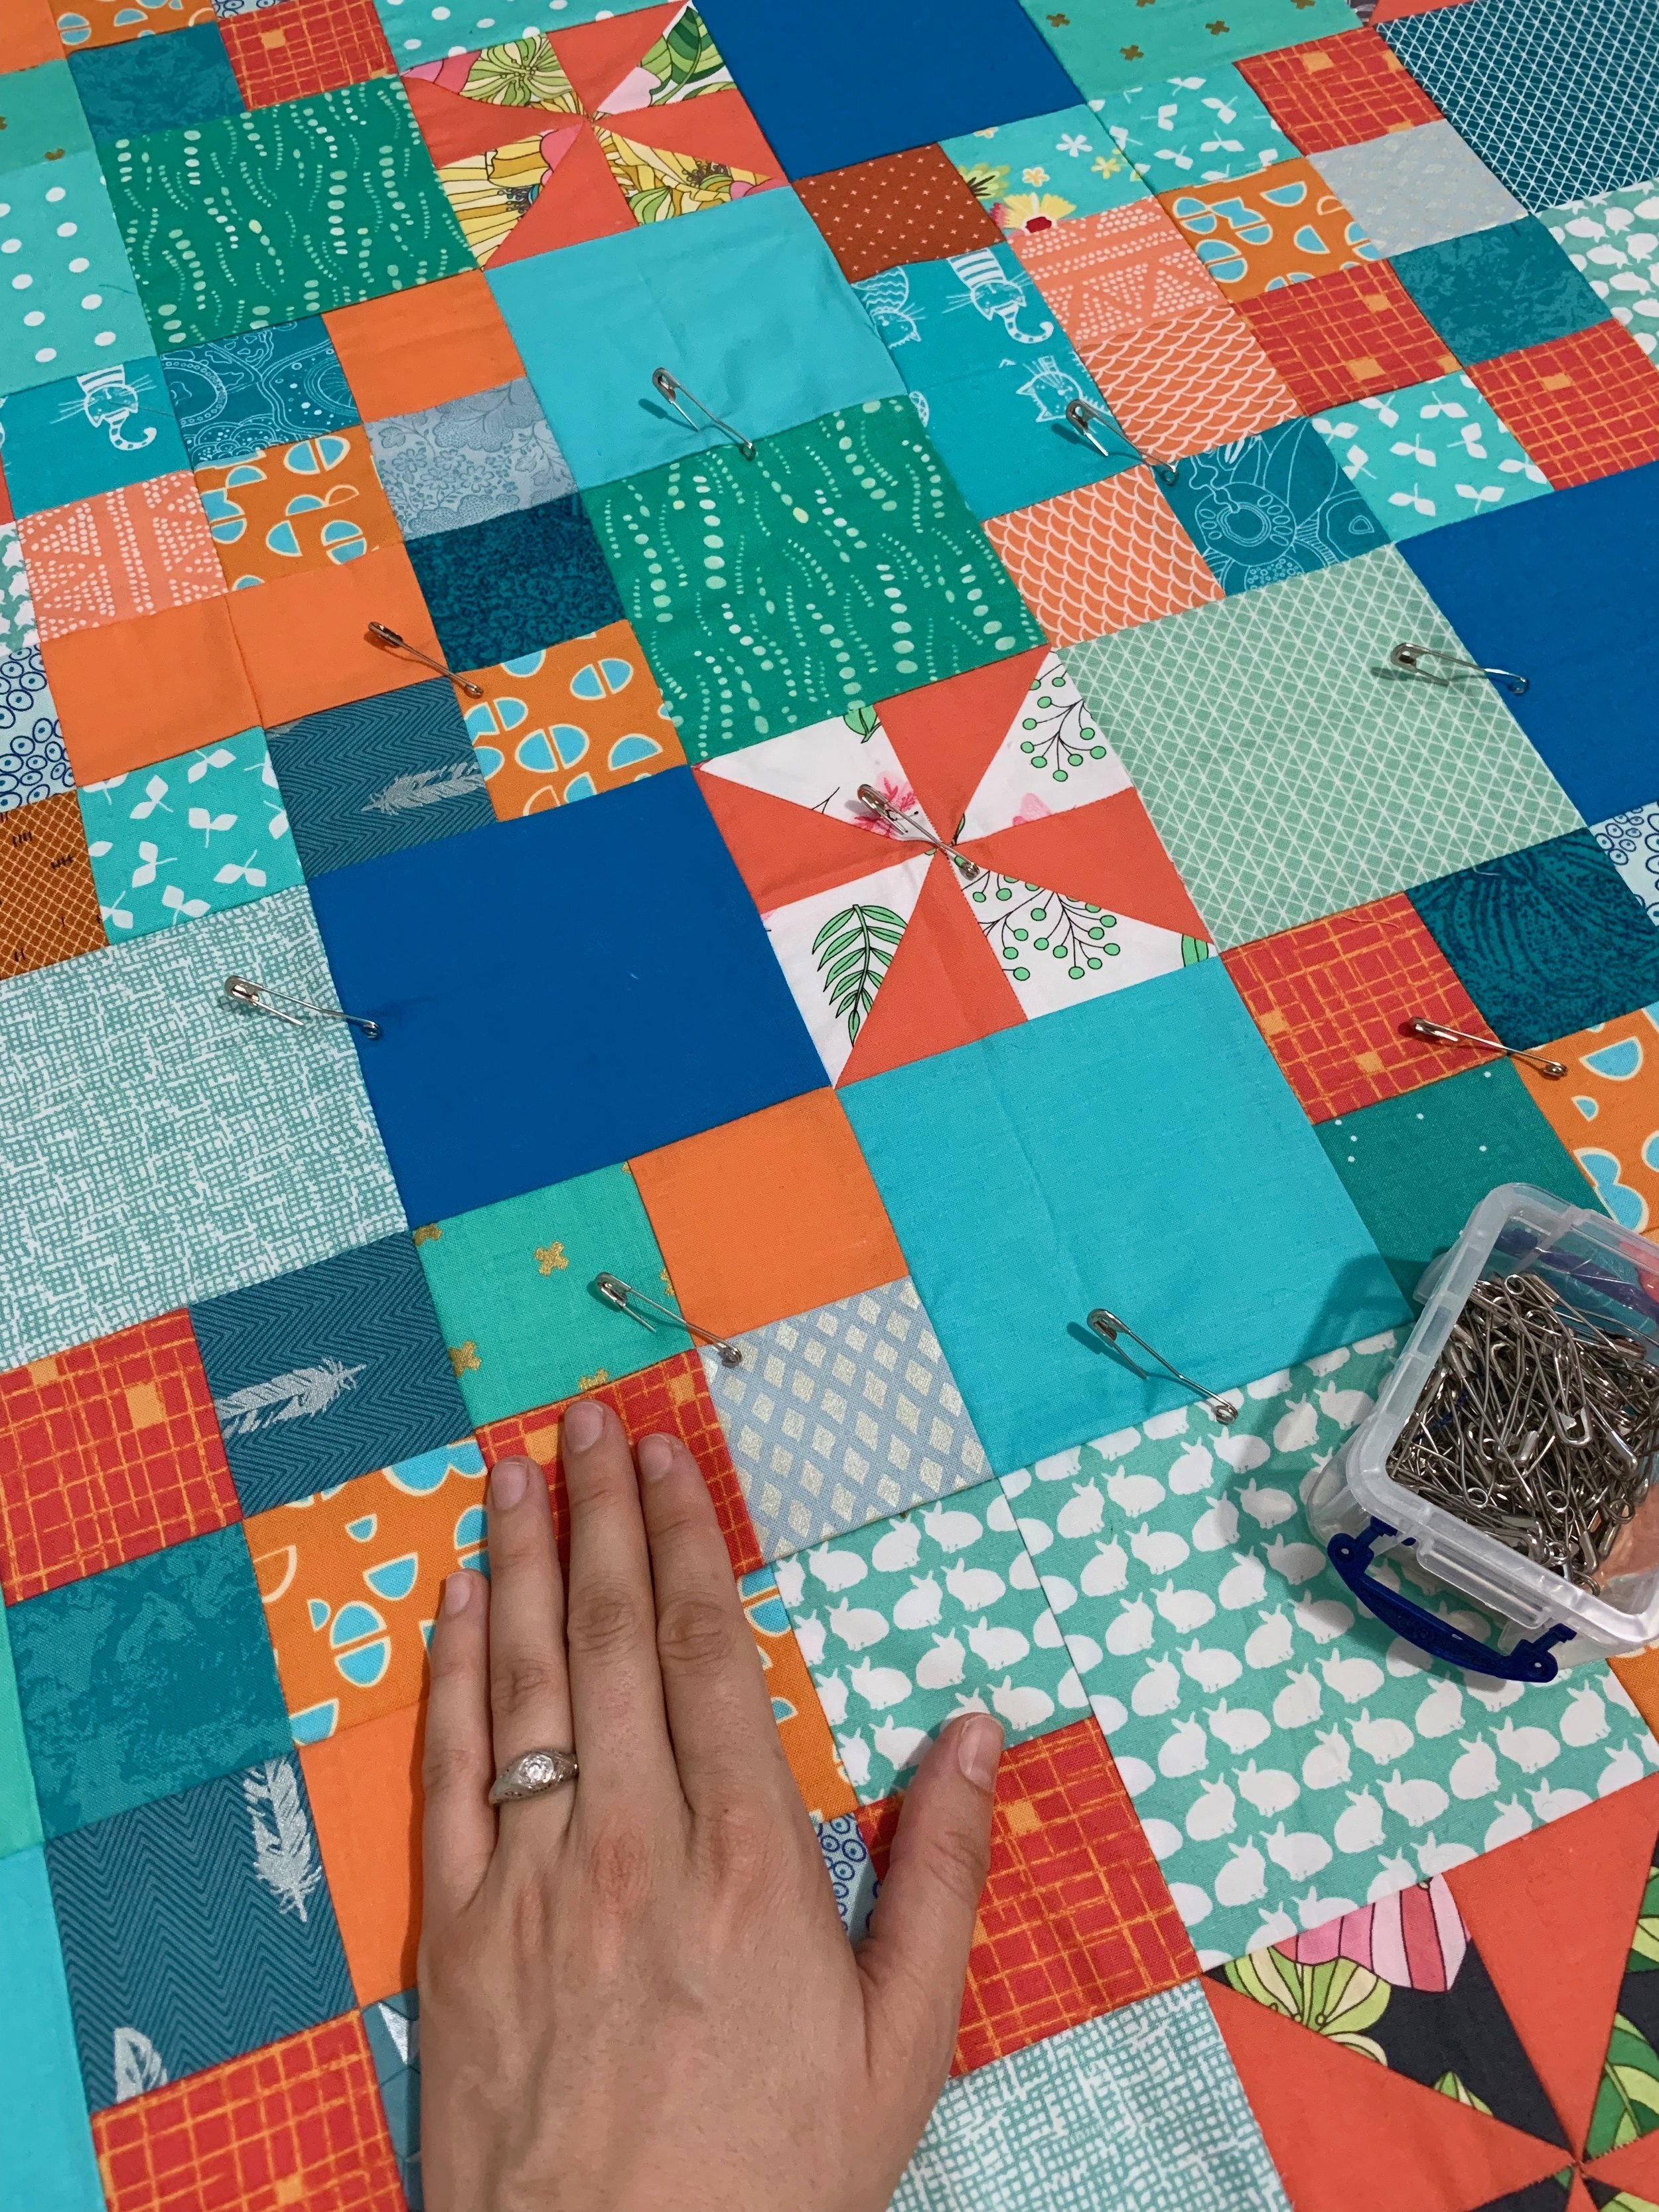
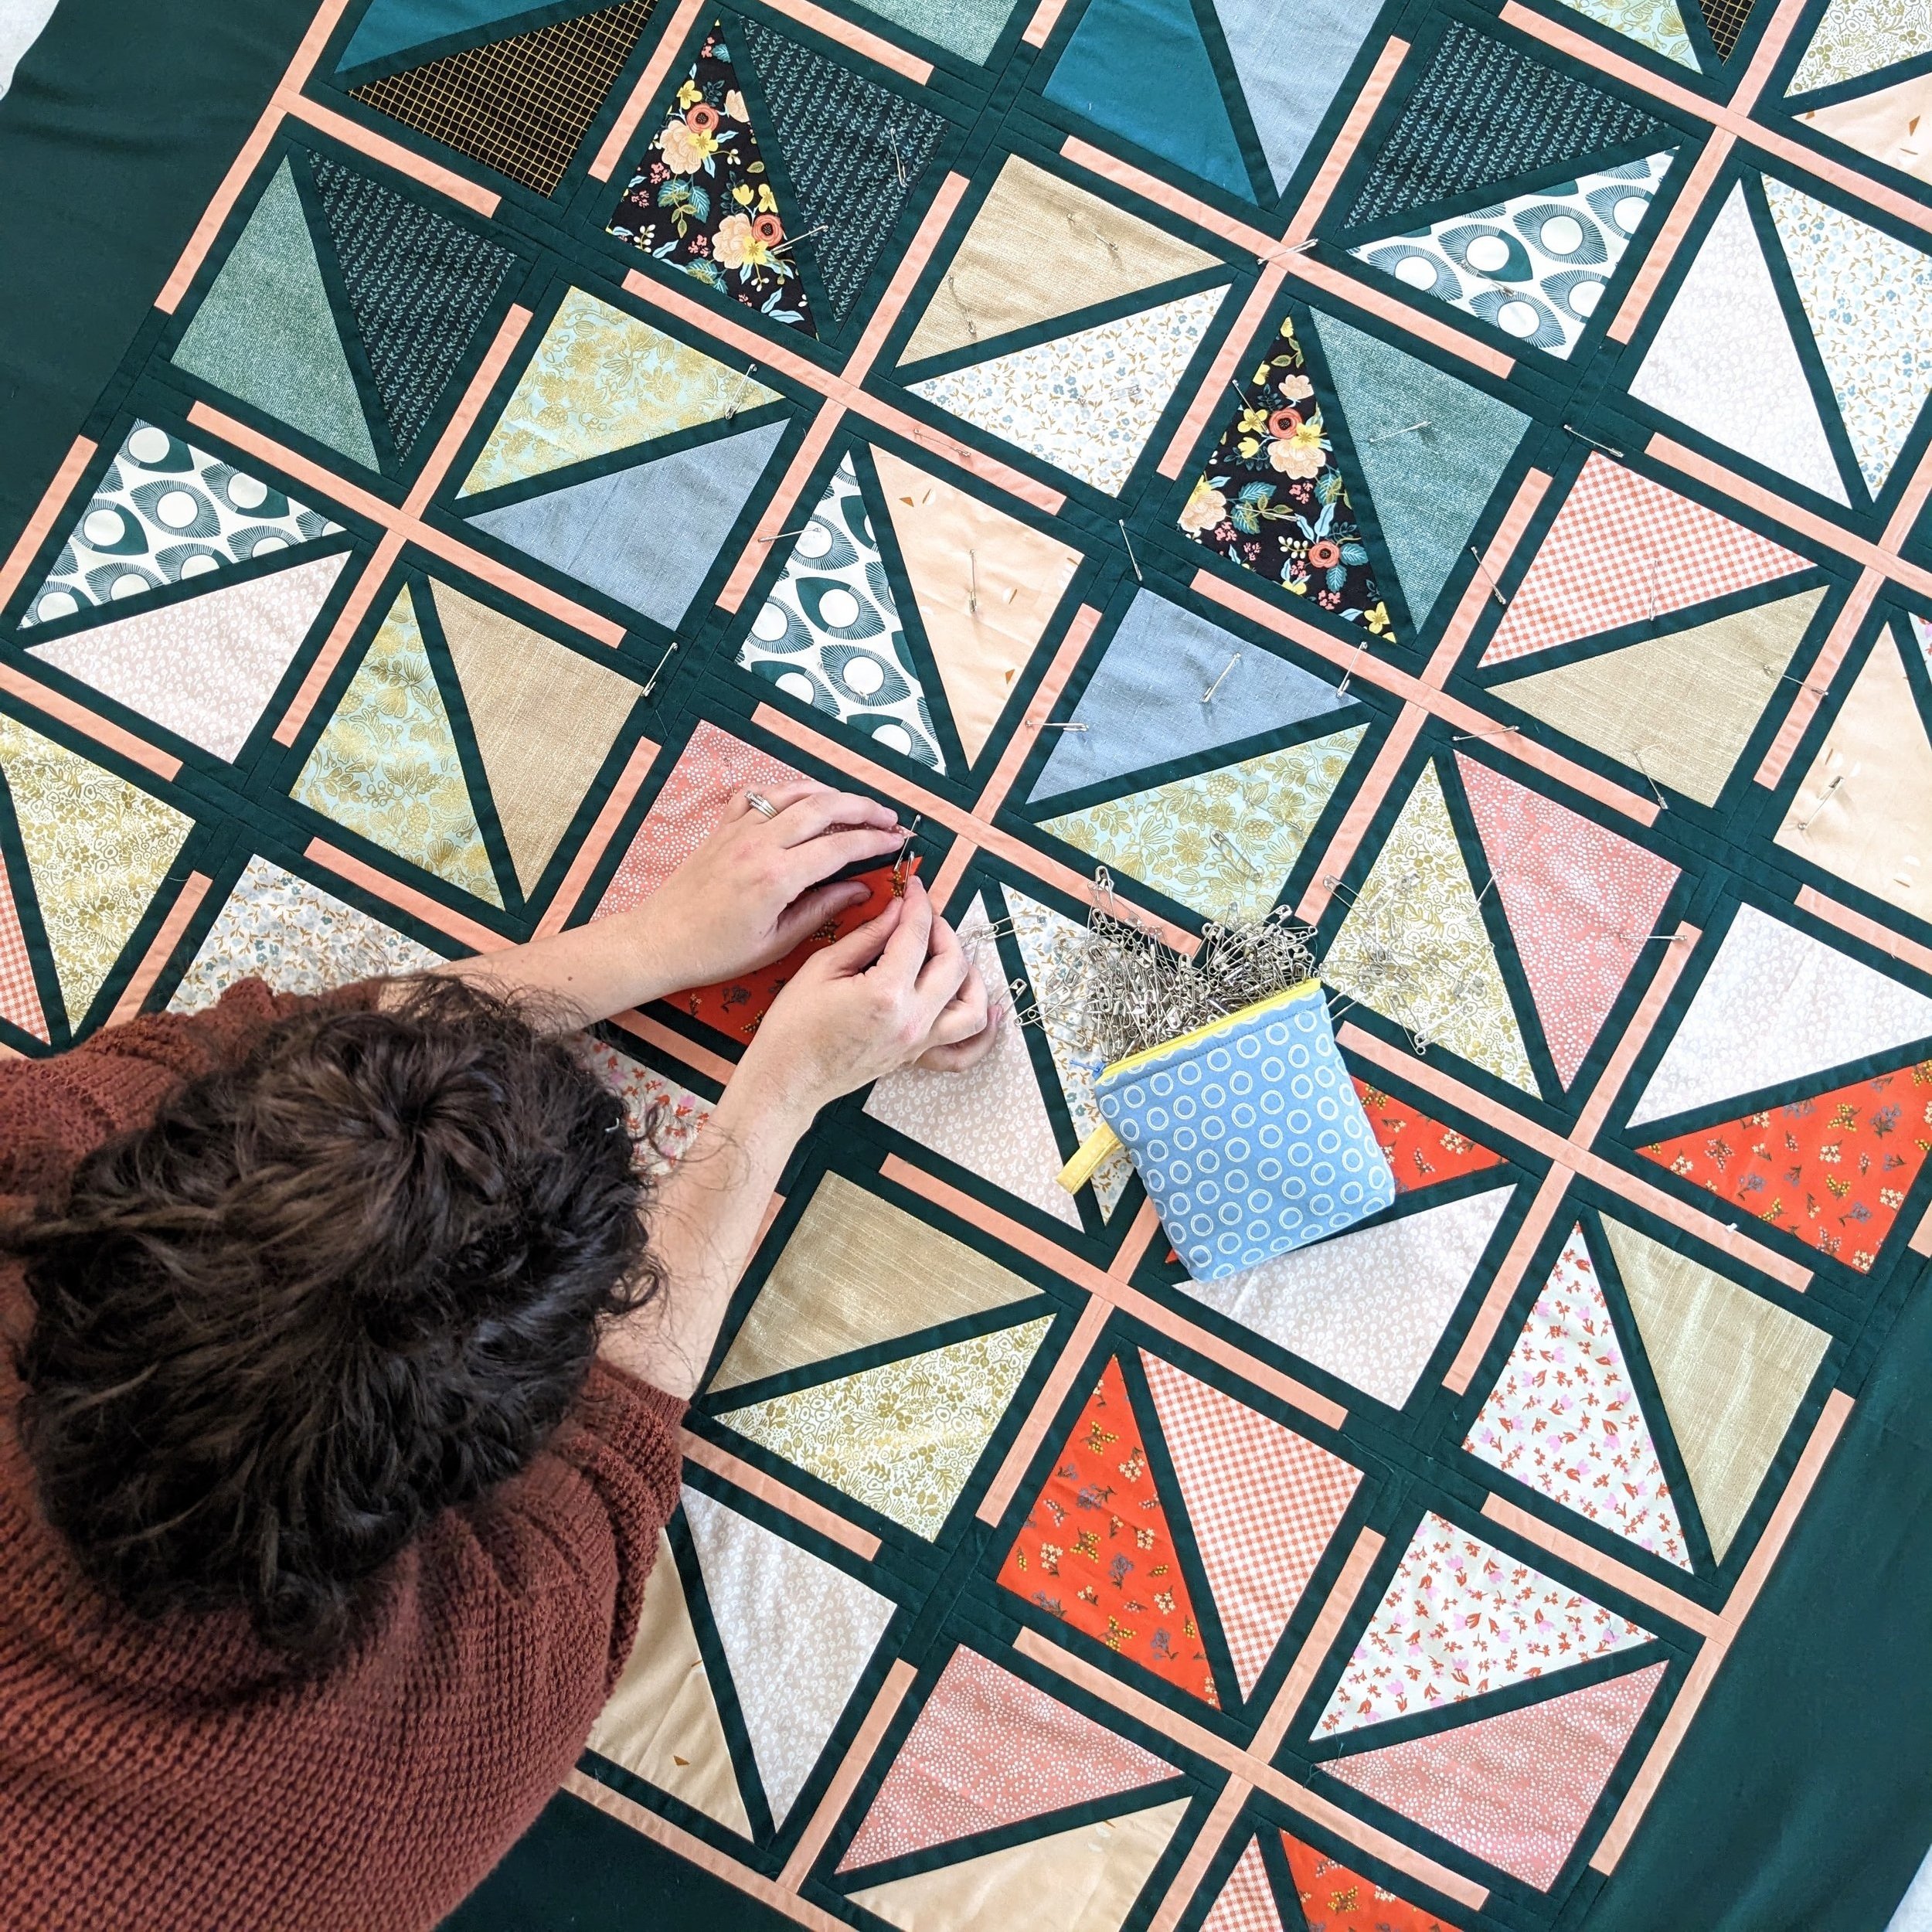

Pin basting uses safety pins to secure the quilt layers together.
How to Pin Baste
- Lay your backing fabric flat (right side down)
- Add batting on top
- Place your quilt top (right side up)
- Smooth out all layers
- Insert safety pins every 3–5 inches across the quilt
Pros of Pin Basting
✔ No adhesives or chemicals
✔ Secure hold for all quilt sizes
✔ Easy to reposition if needed
✔ Budget-friendly
Cons of Pin Basting
✖ Time-consuming
✖ Can be hard on hands and knees
✖ Pins may get in the way while quilting
Spray Basting


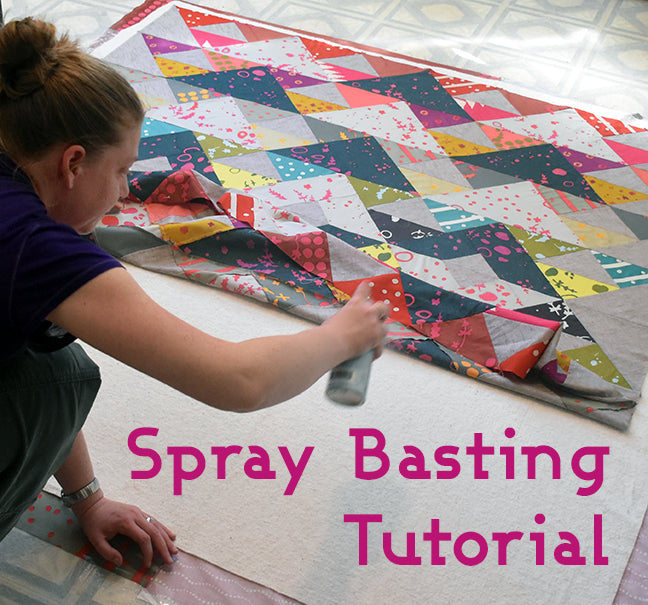
Spray basting uses a temporary adhesive spray to hold layers together.
How to Spray Baste
- Lay backing fabric flat
- Spray adhesive lightly over backing
- Add batting and smooth it out
- Spray batting lightly
- Place quilt top and smooth carefully
Pros of Spray Basting
✔ Faster than pin basting
✔ Smooth, flat finish
✔ No pins to work around
✔ Great for machine quilting
Cons of Spray Basting
✖ Requires ventilation
✖ Can be messy if overused
✖ May lose hold over time
✖ Additional cost for spray
Pin Basting vs Spray Basting
| Feature | Pin Basting | Spray Basting |
|---|---|---|
| Time | Slower | Faster |
| Ease | More physical effort | Easier setup |
| Hold | Very secure | Good, but temporary |
| Cost | Low | Higher (spray needed) |
| Cleanliness | No mess | Can be messy |
Which Method Should You Choose?
Choose Pin Basting if:
- You’re working on a large quilt
- You want a strong, reliable hold
- You prefer not to use adhesives
Choose Spray Basting if:
- You want a quicker process
- You’re machine quilting
- You prefer a smooth, pin-free surface
Some quilters even use a combination of both methods for extra security.
Helpful Basting Tips
🧵 Work from the center outward to avoid wrinkles
🧵 Smooth layers carefully as you go
🧵 Don’t rush — this step matters!
🧵 Use a clean, flat surface for best results
🧵 Check for puckers before quilting
A well-basted quilt sets you up for success.
Final Thoughts
Basting may not be the most exciting step, but it’s one of the most important. Whether you prefer pin basting or spray basting, taking the time to secure your layers properly will make quilting easier and more enjoyable.
Like many parts of quilting, the best method is the one that works for you.
At Johnson Heirloom, we believe every step of the process matters — because every stitch builds something meaningful.
Happy quilting! 🧵💛✨


